Saturday, September 22, 2012

Egg Salad Sandwich

Egg Salad is one of my family favorites!  It brings back loving memories of my Grandmother making it for my school lunches.  I would sit at the bar talking to her while she would get my lunch ready.  She was an amazing woman and such a huge part of my life.

I got a lot of my cooking skills from her that's for sure.  Grandmother was for sure the down home country cook and my mother made some but liked to dabble in more elegant like Roasted Duck etc... 

My husband, daughter and myself love egg salad.  To me it tastes like deviled eggs and we love those and want them more than just at the holidays so we eat these sandwiches off and on all year!  While my Grandmother would boil just 2 eggs to make my sandwich I boil usually 8 to 12 eggs for us!
So here's how to have a quick, easy and delicious egg salad sandwich!


Ingredients: Eggs
Mayonaise 
Mustard ( we like Dijon for the added flavor)
Lemon Pepper
Dill Weed
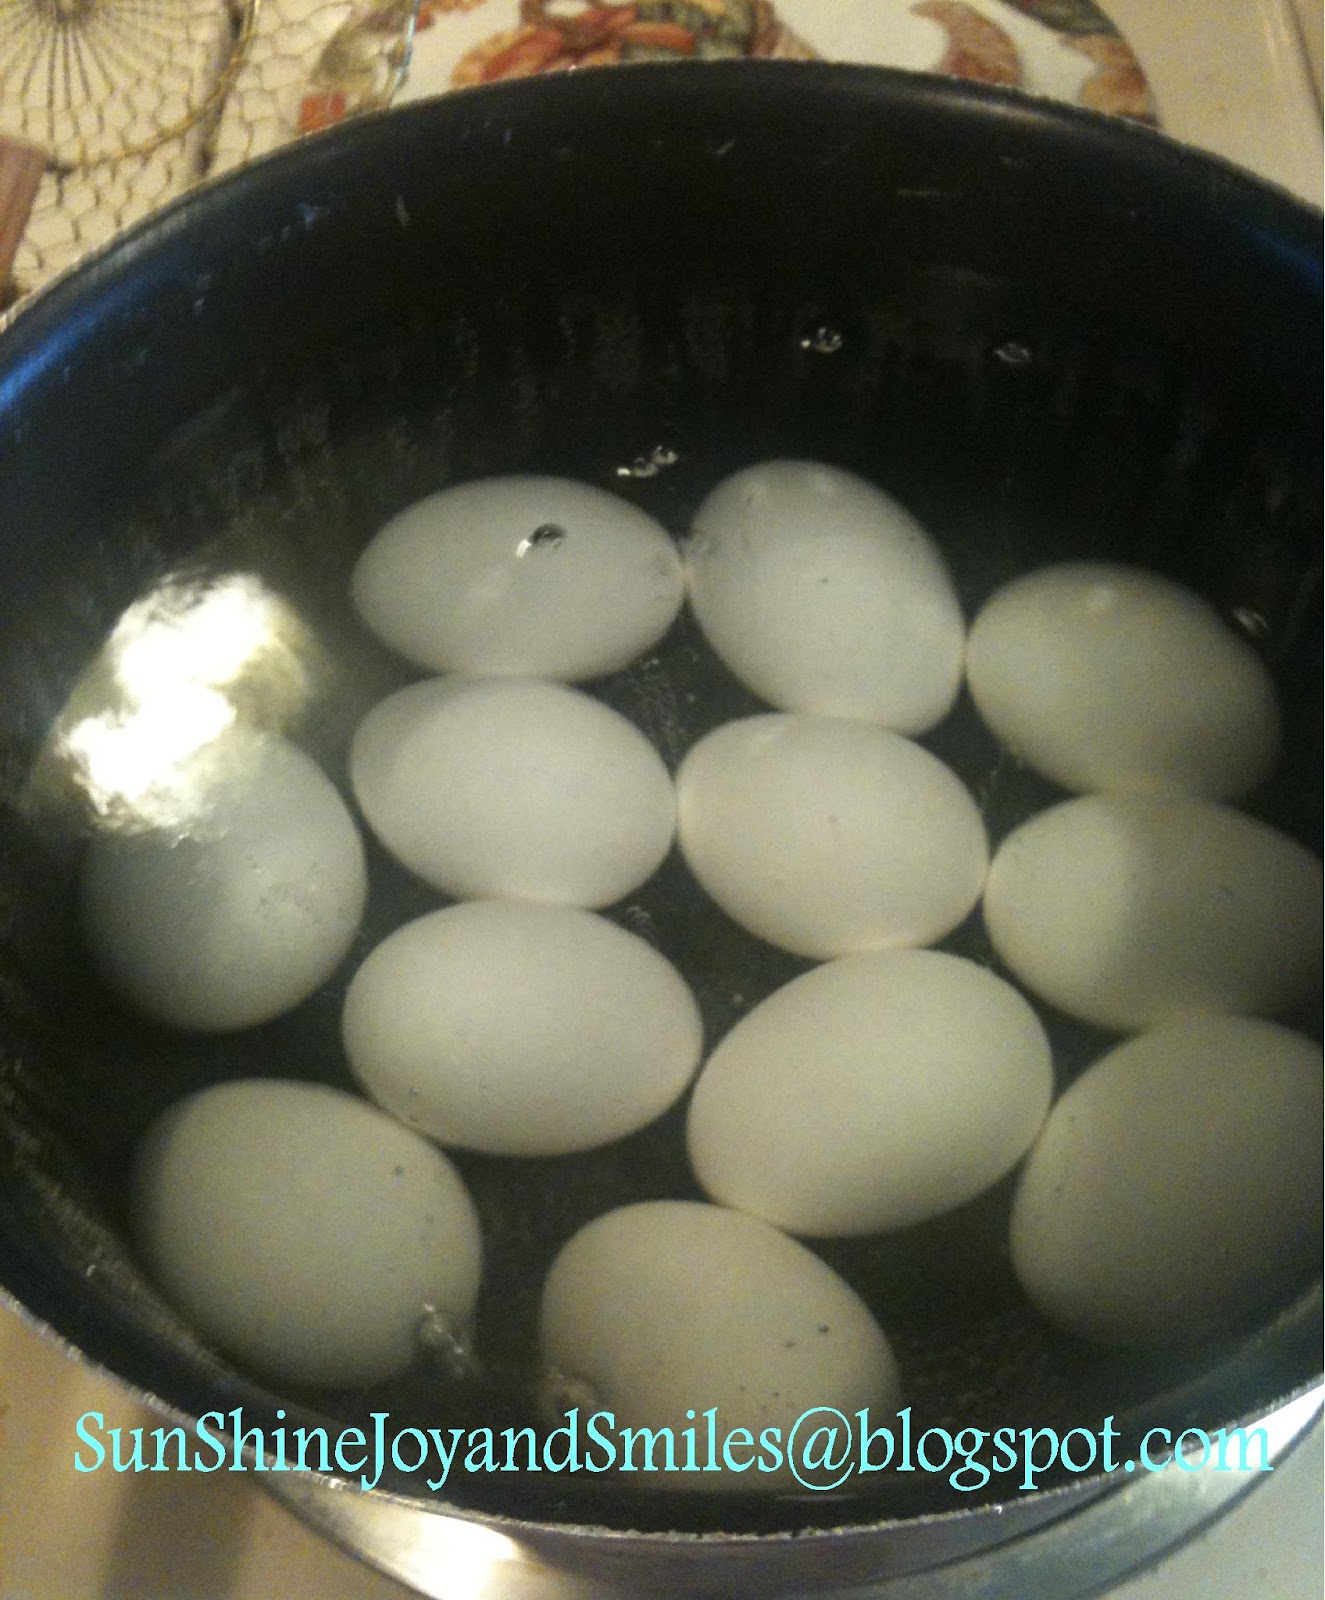

Boil Eggs - the secret to boiling a good egg is bring the water to a full boil then add your eggs; carefully one at a time and return to full boil for exactly 12 minutes.
Remove from heat and drain and rinse in cold water.  
I just dump them into a colander in the sink and run water over them. They are cooked and the shell comes off easily. 


Peeled and ready to mash!


Start mashing, this day I just used a fork (but normally use my pastry blender or potato masher) dice, smash, whatever you like just break them up to get your preferred texture.


All smashed up and ready to get dressed up with all those good spices!  

Here's where you make it your own.  I do not measure.  Where my Grandmother would use Mayonaise a little mustard, salt and pepper.  
I use a generous scoop of Mayonaise, a little less of the Dijon Mustard, sprinkle lemon pepper all over the top and then a lot of dill weed.  

Dill Weed is a special ingredient that just gives it a wonderful fresh flavor.  We all love it and I use it in Mac-n-Cheese too!  Kendall actually requests it!  

 So you blend in your ingredients to taste and load it up on what ever type bread you like and enjoy!


I often thank God for letting me have so much time with my Grandmother because I have so many memories with her and lots of them were centered around her in the kitchen, me at the bar which looked into the kitchen watching and learning from one of the greatest women who I've ever met and that God graced me to be a part of her life.  

A funny note:  She would send these sandwiches to school with me and honestly everyone would be grossed out by the smell thinking my lunch smelled like a toot!  The funny part is that it was all I could do to keep others from taking my "stinky" sandwich.  They all loved it!  :)


Tuesday, September 18, 2012

Caramel Apple Snack Mix

Caramel Apple Snack Mix...........Fall Snacks are fun, festive and so easy!  


Fall is such a fun time of year for many reasons like the cool weather, football, pumpkins, falling leaves, sweater weather, finally get to wear pants, apple pies, bonfires, s'mores, hot chocolate, warm apple cider, apple pies and my list goes on and on and this kick's off the Holiday Season and it just doesn't get better than this!  With this said I'm in full baking mode and one of the 1st things I make every year is this Caramel Apple Snack Mix.

This is a super easy, delicious and fun to share with friends recipe and so I am posting/sharing it for the first time.  Wishing you fun in making this as it is so easy and my daughter loves to help get it ready!  Let me know what you think if you try it!


So here are the ingredients you will need to make this fall snack.
1st:  Get a Large Roasting Pan to put all your dry ingredients in.


7 cups of popped popcorn
4 cups Crispix Cereal
4 cups Apple Jacks Cereal
2 cups salted peanuts
1 cup packed brown sugar
1 stick of butter = 1/2 cup butter
1/2 cup light corn syrup
2 teaspoons vanilla
1/2 teaspoon baking soda

In large roasting pan, combine popcorn, cereals and peanuts; set aside.  Preheat Oven to 250 degrees.


 In a large saucepan, combine brown sugar, butter and corn syrup; bring to a rolling boil over medium-low heat, stirring constantly.


Cook without stirring until mixture turns a medium amber color, about 8 minutes.  Then remove from heat; quickly stir in vanilla and baking soda until mixture is light and foamy.


See, when you add the baking soda it puffs up a little and looks like caramel!   Light and foamy;  Ooo la la! My daughter thinks this is the coolest of the stages~ and~I agree!
I actually snapped this while I was stirring!

IMMEDIATELY  pour over cereal mixture and stir to coat.  ( the peanuts seem to stay at bottom and this is okay)


Bake at 250 degrees for 45 minutes, stirring every 15 minutes.  This will get those little peanuts coated and make everything nice and crispy!  :)


   Spread mixture onto baking sheet to cool completely.  Now you can store for gift giving surprises or just
   enjoy!  We usually keep half and package the other 1/2 in different ways to share!  Enjoy and beware...
   you will be asked for this recipe again and again!


Tuesday, September 11, 2012

"Under the Sea" happy dinner

With Finding Nemo 3D coming out this Friday, September 14, 20120  I was inspired to do a fun dinner from my childhood that my Grandmother and Mom used to make for me. If you want a quick, easy and yummy dinner that brings smiles just looking at it this is the one!!

I made this and our daughter asked me to please make this again and again, even my husband went back for seconds. Here it is and the tutorial to guide you too! Enjoy!!


Just look how cute these Octopus Hot Dogs on Mac-n-Cheese and Green Beans is!  We love their smiles and they make us smile!  Looks like these guys are holding hands!  :)

30 minutes start to finish for a dinner that will give you joy serving as your family smiles at these cuties!

Hot Dogs
Mac-n-Cheese ( I use Kraft) 
Frozen Green Beans

I open the bag of green beans and put into a microwave safe bowl and steam them for 20 minutes

2 pots filled with water on stove to boil. 
 I get all the things ready for the Mac-N-Cheese to be made.


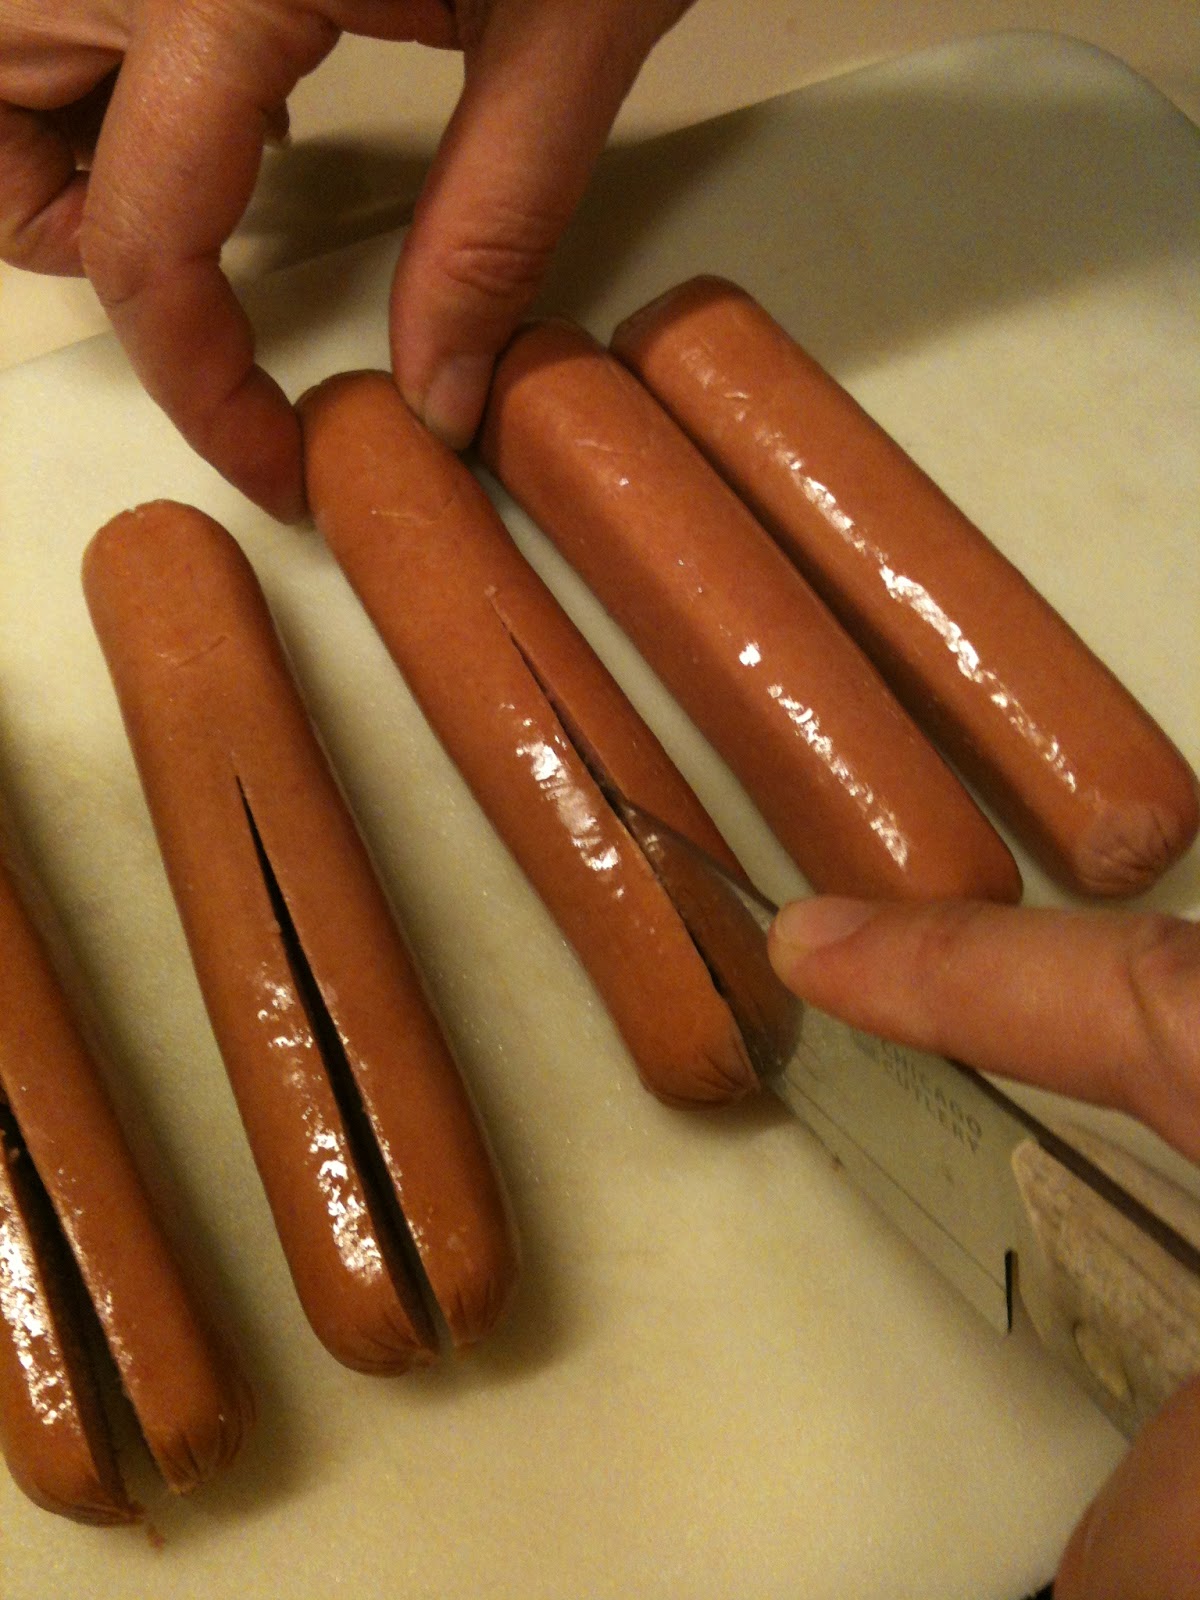
While the water is coming to a boil I put 2 slits into top of hot dog for the eyes


Then I make another slit under the eye for their smiles 


Then about 1 inch under the smiles I make a slit down the middle to start their legs


Then lift the hot dog up put onto cutting board and carefully cut more legs I make 8 legs


By the time you've gotten through slicing your hot dogs ( I make 6 for the 3 of us) your water should be boiling!


Now add the hot dogs to the boiling water one at a time!  Easy!  Just plop them in doesn't matter how!  This is also when I add my macaroni for the Mac-N-Cheese, they cook about the same time 10 minutes... I prepare the Mac-N-Cheese right before I take the hot dogs out.  I add Dill Weed to our Mac-N-Cheese for taste...


When the Octopus look like star fish they are ready!  Now use tongs get them out and put them onto your plate and be ready for your family to be pleasantly surprised!


Thursday, August 9, 2012

Gummy Yummy's

       We love Gummy Bears around here, we always have and always will.  It's amazing that always
the clear one's which I think are pineapple are the first to go.  I try to pick a few and eat them before
they are all gone.  So among some of my many pins I had one for Gummy Bears and decided to make
them tonight because Kendall has her friend spending the night and they always eat the gummy bear stash!
So quick and easy I am impressed!  The girls sampled them about 20 minutes after making them and
they are a big hit!  We are excited about going to the store and letting each girl pick their favorite flavor
and making them again!


Gummy Candy


Saturday, July 28, 2012

Christmas in July

I have loved Christmas my entire life and it is very big in our family. The other day we were at Brookshires buying something to make for dinner and Kendall comes running up to me and says "Mommy they have Blue Bell Christmas in July Ice Cream!" with her big blue-green eyes filled with excitement.

Tugging at my arm please can we please get some? Please!? How could I say no? So I read the package and it talked about Christmas cookies, chocolate chip, snicker-doodle, sugar cookies, frosting and sprinkles in the ice cream. You guessed it I couldn't get it home quick enough to have some!!

As I'm not much of an ice cream eater Kendall and I finished it in 2 days. David had a bowl :) it is that good.There are actually tiny cookies in it!! We all love it and couldn't pick our favorite cookie because they were all so good.

So if you want a quick Christmas treat in the hot summer try this for it will put a smile on your face and a little Christmas joy in your heart :)

Thursday, July 26, 2012

Grandma's Recipes - fried okra

Memories of my Grandmother are always in my heart and close by. I don't think a day goes by she doesn't cross my mind for one reason or another.

Today I'm making one of her dishes a family favorite of ours for sure. **this recipe is not heart <3 healthy but it is made with love and patience because that is exactly what it takes!
Love because I loved it as a child, as did my Father. I remember my Grandmother making home made fried okra and me sitting on the bar stool watching, talking and learning from her as she sliced, breaded and fried the okra till it was cooked to the point of being crunchy!

I'm not kidding it takes a couple of hours in order to follow her recipe. She laid them flat and used a fork to turn them individually as do I. This step is what it takes to cook them all evenly as she did. I walk off and do something else while they fry in the skillet and it works well.

Patience well to spend the time it takes frying them speaks for itself. I never understood why we only had in once in a while, maybe a couple of times a year. Now grown, fixing it myself I totally get it. It is a special treat.

The funny thing is that as the smell of it fills your kitchen the 1st batch is always eaten because it takes so long so she always cooked enough for 3-4 batches and so do I.

Okay here's the recipe, simple as that!

  • Fresh Okra sliced or Frozen sliced; thawed in a bowl
  • Sprinkle with Kosher Salt and then
  • Pour Cornmeal over it.
  • Use your hands and make sure every piece is coated. Just keep adding until they are covered. 

Directions:
Heat vegetable oil in pan or electric skillet till frying temperature.
( test with a popcorn kernel it will pop or the end of a wooden spoon, bubbles will be all over the bottom )

Put okra into hot oil 1/2 " deep in single layer; fry until brown, then using a fork flip over the pieces that are most done 1st. Let go until they are brown. I say about 30 minutes; then scoop them out onto paper towel lined cookie sheet and sprinkle with more Kosher Salt.

Enjoy!


Monday, July 23, 2012

Delicious Cheese and Corn Dip

My mother in law has made this dip
Over the years and I just love it! The taste and texture are enjoyed by u all so here it is:
1 14oz Can Corn; drained
1 2 cup package Finely Shredded Mexican Blend or Sharp Cheddar
1 or 2 jalepeno's seeded and diced
1/2 cup salsa we like medium
1/2 cup mayonnaise
1/2 cup sour cream
1/2 tsp granulated garlic powder
1/4 pepper

Drain corn and put into large bowl, add the rest of ingredients and chill for best flavor. Then enjoy with your favorite chips and or crackers and enjoy! This only last 1 day in our house!